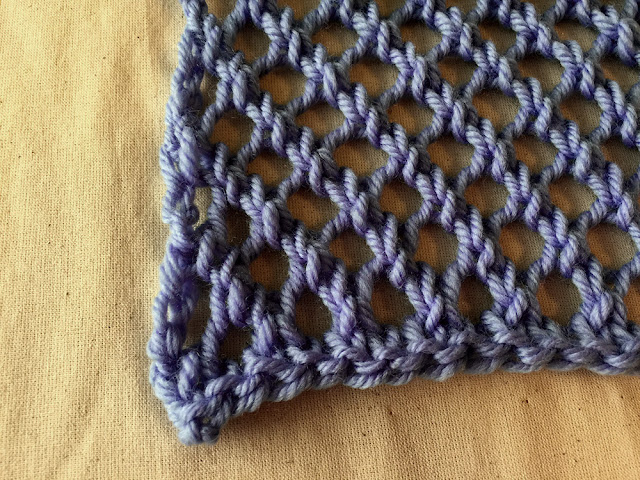
The most important thing to make your knitting look good (other than the actual knitting process) is to block your knits. You've put all that hard work, spent literal hours knitting and it's only one more tiny step.
I know, every time I finish a knit I'm super excited that's it's done! And then I think, "Do I have to block it?" I go through this even though I've learnt the hard way that it's not worth skipping that final step. So now I go over this imaginary list running in my head!
Cons:
- It takes time.
- I have to walk all the way to my ironing board.
- It takes time.
Pros:
- It makes my knitting look fantastic!
- It fixes 99.9% tension issues I've had.
- It gives my knitting great stitch definition.
- Checks if the yarn you have bought has a colourfast dye or is it going to leach dye at the first drop of water (which isn't good if you have given a friend a hand knitted hat that they are proudly wearing and it begins to rain...I'll let you imagine the rest)
- If it's a lace pattern it opens up your pattern, lets it be seen and makes your accessory garment the right size!
- It can make things bigger if you just want a smidge more room!
- It doesn't take that much time...
So after ticking this off I decide yes it's worth blocking. After reading this post and finding out how simple it actually is I hope you will block too :)
But what is blocking?
Blocking is the act of stretching out your knits, wetting or steaming them and leaving them to dry. It relaxes and realigns the fibres which gives your knitting a professional finish. Because it can change the size of your tension slightly I always recommend you block your tension square too. You know the square you always knit to check your gauge before you cast on a garment ;) Well...now back to blocking
Quick Note: I've found it best to only block natural fibres. Wool works best because it can spring back. Cotton is not bad but I always find it always grows in the blocking process so be prepared. And Acrylic I would not block at all.
The Set-Up:
- An ironing board or a folded towel (something you can stick pins into and it will hold)
- Pins - Any kind will do as long as they have a pointy end and aren't rusty.
- A spray bottle filled with water.
- A piece of knitting or crochet that needs blocking!
The Act:
1. Place your knitting on the ironing board. I'm using a 100% wool lace swatch to show you the full wonder of blocking. At this stage it will look all scrunched up and unappealing like this.
2. Pin your knit to the towel or ironing board stretching it out to the size you would like.
3. Spray it with water until it is damp to touch. The shiny bits are all the drops of water :)
4. This is the tricky part. Leave to dry. It usually takes two or three hours in summer and a whole night in winter.
5. Take out the pins and you have amazing knitting!
Look at that stitch definition, it is so even!
And there you have it. This is the method of blocking I use about 95% of the time and it works marvellously! I have another super quick 5 minute method for express blocking that I'll do a post on in future but this is my favourite and gives the best results.
And just a note about blocking double layered items like winter hats.
When I block my beanies I lie them flat and pin them as below. I have tried blocking them over plates and foam balls but I always find that they overstretch them. The trick with the beanie is to make sure you spray enough water on to dampen both layers. Then I find it blocks quite well. :)
 |
| Katoomba Slouchy Beanie Merino Newborn Size |
Enjoy your knitting and blocking! :)
Adelaide


